|
|
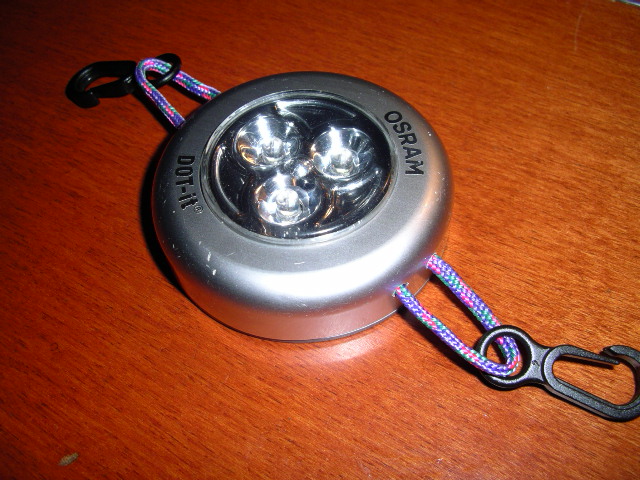
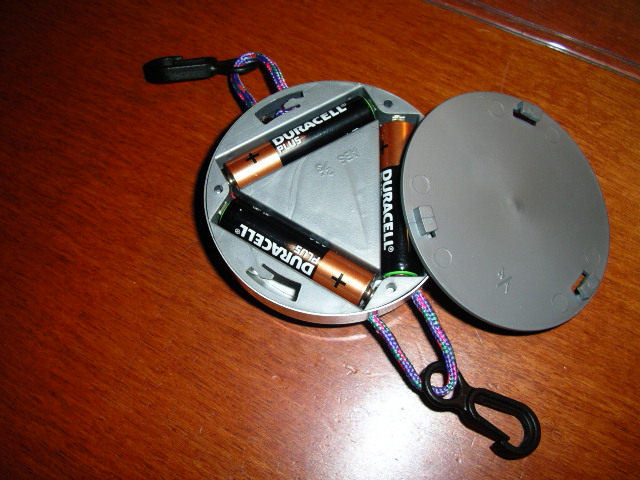
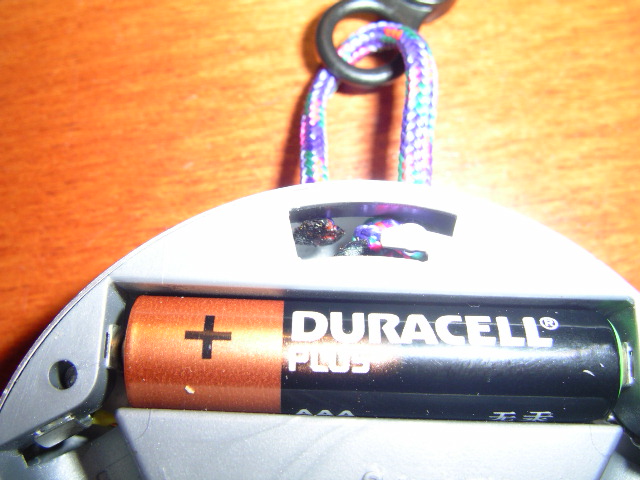
Now the nights are drawing in, having a light in a tent seems like a good idea - I've never managed to find anything which was compact, long lasting and cheap - so not liking the small fluorescent tube lights which are available, and wanting something which would hang in the center of the tent, I've made one by modifying a readily available battery light. The little Osram Dot-It lights are readily available from most DIY stores and the likes of eBay - expect to pay anywhere between .99 and £7. They use 3 LEDs and run on 3 AAA batteries which last for ages. At 67 mm diameter, they are nice and small. Pressing the center turns it on and off. It comes with either a velcro patch option, or a magnetic pad with an eye to hang it. Neither option works all that well in a tent, so I modified mine by adding a couple of hooks salvaged from an old Ortleib map case so that it can hang horizontally from the tent's internal gear cord and shine its light down. The only downside with them is that they can get turned on easily when packed, and can't be just rolled up with the tent unless you were to remove or reverse a battery - which sort of defeats the objective! If you can't find suitable hooks then you could just make the loop of cord longer so it can be tied to the tent's gear cord. A couple of mini karabiners would be a good substitute. If anyone knows a source for those hooks, I'd very much like to know about it - please mail me at editor@ukseakayakguidebook.co.uk When you've removed the cover and batteries, look carefully at the apex of each "triangle" - one of them has a pair of yellow and red wires running from the connectors - avoid it - too easy to damage the wires as you drill through the case. Having now selected where your hanging cord on one side is going to go, you can identify the slot opposite it where the lugs of the battery cover go. There's just enough room to get the cord in if you melt the ends to secure them in the holes. The light clips onto the gear cord and hangs nice and flat.
There is also a linear version of this light and from a quick look at the Osram website it looks as though it would be easy to adapt it too. It might be a better option to use in a tent. For more DIY's, see the DIY, Boat & Kit Repairs, Maintenance & Modifications page of the Almanac. Mike Buckley - September 2009 |
||||||||||||||