Shoulder Strap Mount for a Princeton Tec eco-flare
|
|
Mike Buckley - November 2015 |
Attaching a Princeton
Tec eco-flare to a BA is a little challenging - the clip isn't sufficiently
tight to actually grip anything, but is too wide and inflexible to go
into the lash-points on a BA.
You need:
1 length of suitable webbing - this one was once a shoulder
strap on a Palm BA.
Velcro.
1 spring loaded cord lock.
1 small bead.
4 mm bungee cord.
Being a bit of a squirrel, all these bits came from various
old jackets, rucksacs and BAs. I've never found an on-line source for
the beads, except by the hundred, but most towns will have a "bead
shop" where you can buy them in small quantities. A search on eBay
for "ranger beads" will provide you with 13 on a length of
paracord, and they are ideal.
|
|
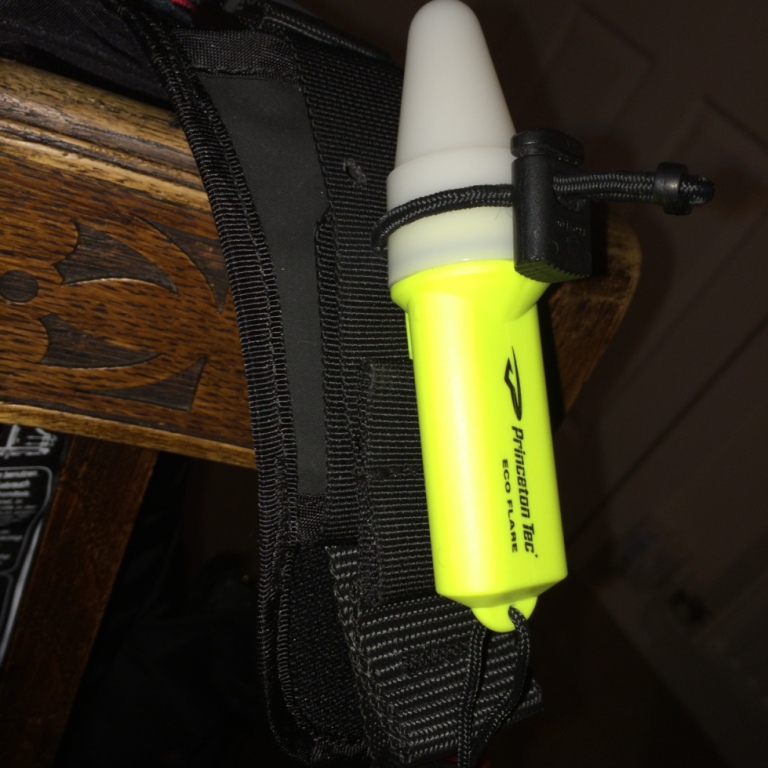
| Here's the finished
article - sits nicely on the BA strap tube. The bead stops the
bungee pulling through the cord-lock - a knot will work too, but
isn't as neat. Alternatively, use a double-hole cord-lock. I suppose
the cord-lock is overkill, as you could just make a suitably tensioned
loop of bungee and slide the light through it. We wanted to be
able to remove the light easily, and having the adjustable bungee
makes this easier. |
| |
|
|
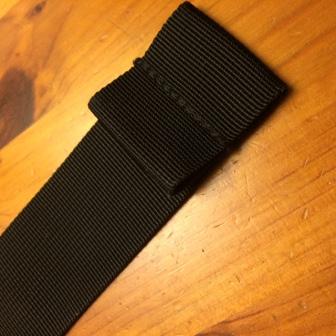
The picture on the left is a bit of shoulder strap. Usefully,
it already has the folds I need to create a pocket into which
the end of the clip on the light will slide. I cut through the
stitching with a scalpel, just enough to allow the flare's clip
to slide in to the pocket so created. Then I used Aquasure to
(hopefully) seal the cut ends of the stitching at either side
of the cut.
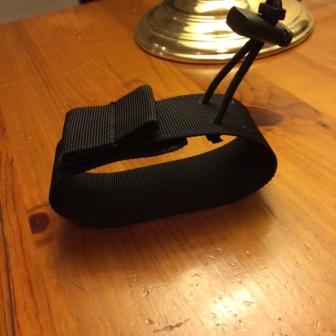
Velcro is attached using Aquasure, to create an appropriately
sized loop to fit round the shoulder strap tube on the BA. Sewing
would probably be better, but this solution seems to be holding
so far. Self adhesive velcro doesn't stick to the webbing, hence
using adhesive. The hooked side is under the top bit in the
right hand picture, where the pull-tab has been sewn - the soft,
fuzzy side being on the other end, which is then easier to slide
through the strap tube. The end of the webbing has been cut
at an angle at each corner to make it easier to pass through
the tube.
The holes for the bungee loop are punched with a leather punch
and heat sealed with a lighter - or could be made with a hot
metal rod. Insert bungee, slider and bead, adjust length as
appropriate, cut and seal.
Slide the assembly through the tube on the BA - close with
velcro and add the light.
I might ask my local friendly cobbler or leather-worker to
sew the velcro on the next version. Thus far, the glue seems
fine though.
|
|
|
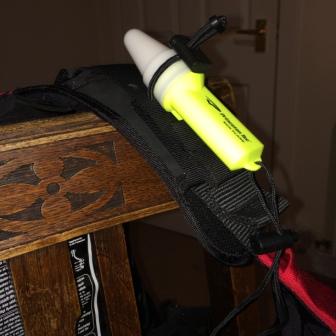
Another perspective of the light and its mount
fitted on the shoulder strap. The idea could be adapted to suit
other applications, either with different bungee configurations,
or perhaps a bigger pocket to take the clip for a VHF. I guess
the possibilities are endless - please share yours with us on
the forum. |
For more DIY's, see the DIY,
Boat & Kit Repairs, Maintenance & Modifications page of
the Almanac.
© Mike Buckley - November 2015
Note: Do feel free to use my design for your own personal
use. If you want to copy it to make money, perhaps you'd be kind enough
to do the decent thing and
ask me first so we can agree on how much of a donation you're going
to make to RNLI on your sales profits from stealing someone else's idea.
|